NEBNEXT® Ultra II DNA Library Prep Protocol
Script
Before you begin you'll want to make sure that you have available all of the required reagents and equipment that are not included in the kit.
Your DNA should be fragmented to the size range suitable for your sample and sequencing requirements. This can be done using either mechanical methods or enzymatic methods. The volume of your sample should be adjusted to 50 µL, and this should contain 500 pg to 1 µg of fragmented DNA. Although, the Ultra II kit can be used with very low input amounts we recommend using higher amounts if available to minimize the number of PCR cycles required.
When working with the reagents included in the kit it's important to ensure that they are well mixed before use.
The first steps in library construction are end prepare and dA-tailing. In this step, the input DNA is blunted and phosphorylated, and an A is added to the 3' end of each fragment. In the Ultra II workflow these two steps are combined. You will be using the end prep enzyme mix, and the end prep reaction buffer, which are in the green capped vials.
For each library add 3 µL of the end prep enzyme mix and 7 µL of the end prep reaction buffer to your 50 µL fragmented DNA sample. Mix well by pipetting up and down 10 times. Incubate this in a thermal cycler at 20°C for 20 minutes followed by 65°C for 20 minutes, then hold at 4°C.
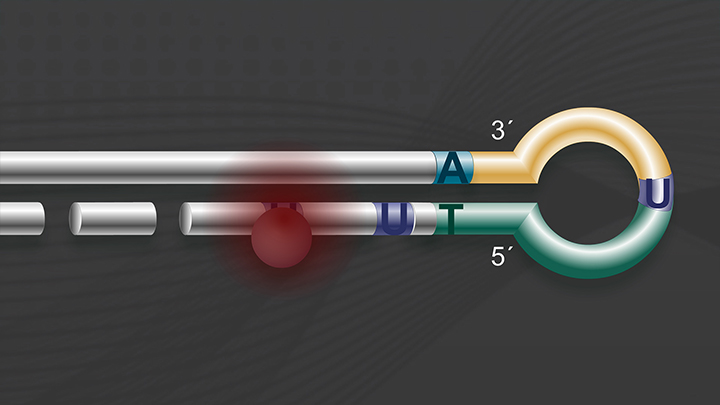
In this step, adapters with a single T overhang are ligated to the end repaired dA-tailed fragments. If you started with less than 100 ng of input DNA we recommend using lower amounts of adapter to reduce the risk of adapter dimer formation. The reagents used in this step are the Ultra II Ligation Master Mix, the Ligation Enhancer, and the Adapter which are in the red capped vials. Note that the Ultra II Ligation Master Mix is very viscous, so it is important to pipette slowly to ensure you are getting the desired volume. The Ultra II Ligation Master Mix and Ligation Enhancer can be combined ahead of time and stored at 4°C and will be stable for at least eight hours.
Add the Ultra II Ligation Master Mix, Ligation Enhancer, and Adapter to the end prep reaction and mix well. We recommend setting a 100 or 200 µL pipette to 80 µL, and then pipetting up and down at least 10 times. A quick spin will collect all liquid from the sides of the tube. Incubate at 20°C for 15 minutes in a thermal cycler with the heated lid turned off. If you are using the NEBNext Adapter add 3 µL of USER enzyme and mix. Incubate at 37°C for 15 minutes with the heated lid set to at least 47°C. If necessary, samples may now be stored at -20°C overnight.
Size selection enriches for molecules that were sheared to the desired size, and have an adapter ligated to each end. Size selection is accomplished using magnetic beads. There are two rounds of selection. The first removes DNA fragments larger than the desired size, and the second removes DNA fragments smaller than the desired size. This is accomplished using specific ratios of the bead solution to the total volume, and volume of beads required varies depending on the desired fragment size. Magnetic beads should be used at room temperature, and they should be vortexed before use.
For the first round of size selection add vortexed beads to the reaction and mix well by pipetting up and down at least 10 times. Incubate for five minutes at room temperature, then place the reaction into the magnetic field. After approximately five minutes the beads should have separated from the supernatant. Carefully remove this supernatant and avoid disturbing the pellet. Vertical bar magnets pull the beads to one side of the tube or well, and the supernatant can be removed by placing the pipette tip on the opposite side of the tube or well from the magnet. Plates with circular magnets pull the beads uniformly to the walls of the tube or well, so the supernatant can be removed by pipetting straight down into the bottom of the tube or well, being careful not to touch the sides. In this first round of size selection the unwanted large fragments are bound to the beads, and the desired DNA is in the supernatant. Retain the supernatant.
For the second round of size selection add new magnetic beads, incubate for five minutes, expose to a magnetic field, and remove the supernatant. Discard the supernatant as the desired DNA is bound to the beads in the pellet. Wash the beads with 200 µL of 80% ethanol while they are in the magnetic field. Incubate for 30 seconds at room temperature, and then remove the ethanol. Repeat this last step once. Allow the beads to air dry while the beads are in the magnetic field, but avoid over drying the pellet. Remove the tube or plate containing dried bead pellet from the magnet, and elute the library from the beads by adding 17 µL of tris-hydrochloride or 0.1X TE buffer followed by mixing well by pipetting up and down, or vortexing. A quick spin may be required to collect the liquid to the bottom of the tube or plate. Incubate for an additional two minutes at room temperature. Return the sample to the magnet for five minutes, or until the sample clears, and remove 15 µL of the supernatant. Add this 15 µL to a fresh PCR tube for library amplification.
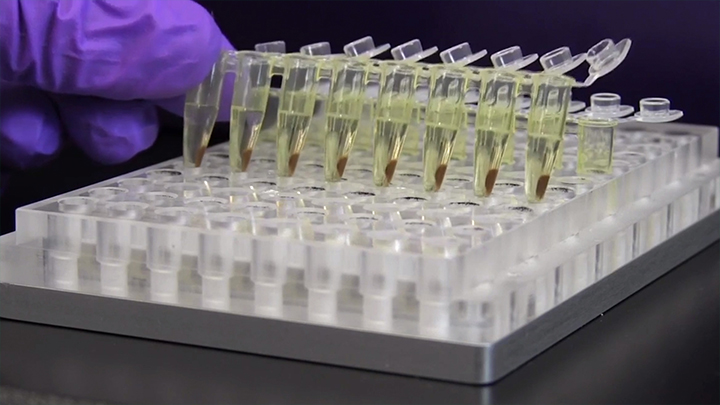
The final step of library preparation is library application by PCR. This step not only increases the amount of library, but also selects for molecules that have an adapter ligated to each end. For multiplexed libraries indices or barcodes can be introduced at this step if the NEBNext Adapter and primers are used. To each sample add the universal PCR primer and index primer, and the Ultra II Q5 Master Mix, which are in the blue capped vials. Mix thoroughly as shown previously. The number of PCR cycles will vary and is determined by the original amount of input DNA.
This step also uses magnetic beads, but this time there is a single step after which the desired DNA, the library, is bound to the beads. Don't discard beads. Add 45 µL of vortexed magnetic beads to the reaction and mix well by pipetting up and down at least 10 times. Incubate at room temperature for five minutes followed by exposure to a magnetic field. After five minutes remove and discard the supernatant without disturbing the bead pellet. Wash the beads with freshly prepared 80% ethanol as previously demonstrated. Allow the pellet to dry. Remove the tube or plate containing the dried bead pellet from the magnet, and elute the library from the beads by adding 33 µL of 0.1X TE buffer followed by mixing well. After a quick spin incubate at room temperature for two minutes. Return the sample to the magnetic field until the sample clears, approximately five minutes, and remove 30 µL of the supernatant containing the library to a new tube. This library can be stored at -20°C.
You can confirm the size distribution of the library by diluting 1 µL of the library bi fold with 10 mM tris-hydrochloride or 0.1X TE buffer, and running it on a bio analyzer using the high sensitivity chip. The final library can be quantitated using QPCR-based methods such as the NEBNext Library Quant Kit by using electrophoretic methods like the bio analyzer.
For full details see the manual for the NEBNext Ultra II DNA library prep kit for Illumina, which can be downloaded from our website. For any technical inquiries please contact NEB technical support.
Related Videos
-

NEBNext® Ultra™ II Directional RNA Workflow -

Size Selection and Cleanup with NEBNEXT® Ultra II and SPRI beads -

Optimization of NGS Library Preparation: Low Inputs and Fast, Streamlined Workflows

